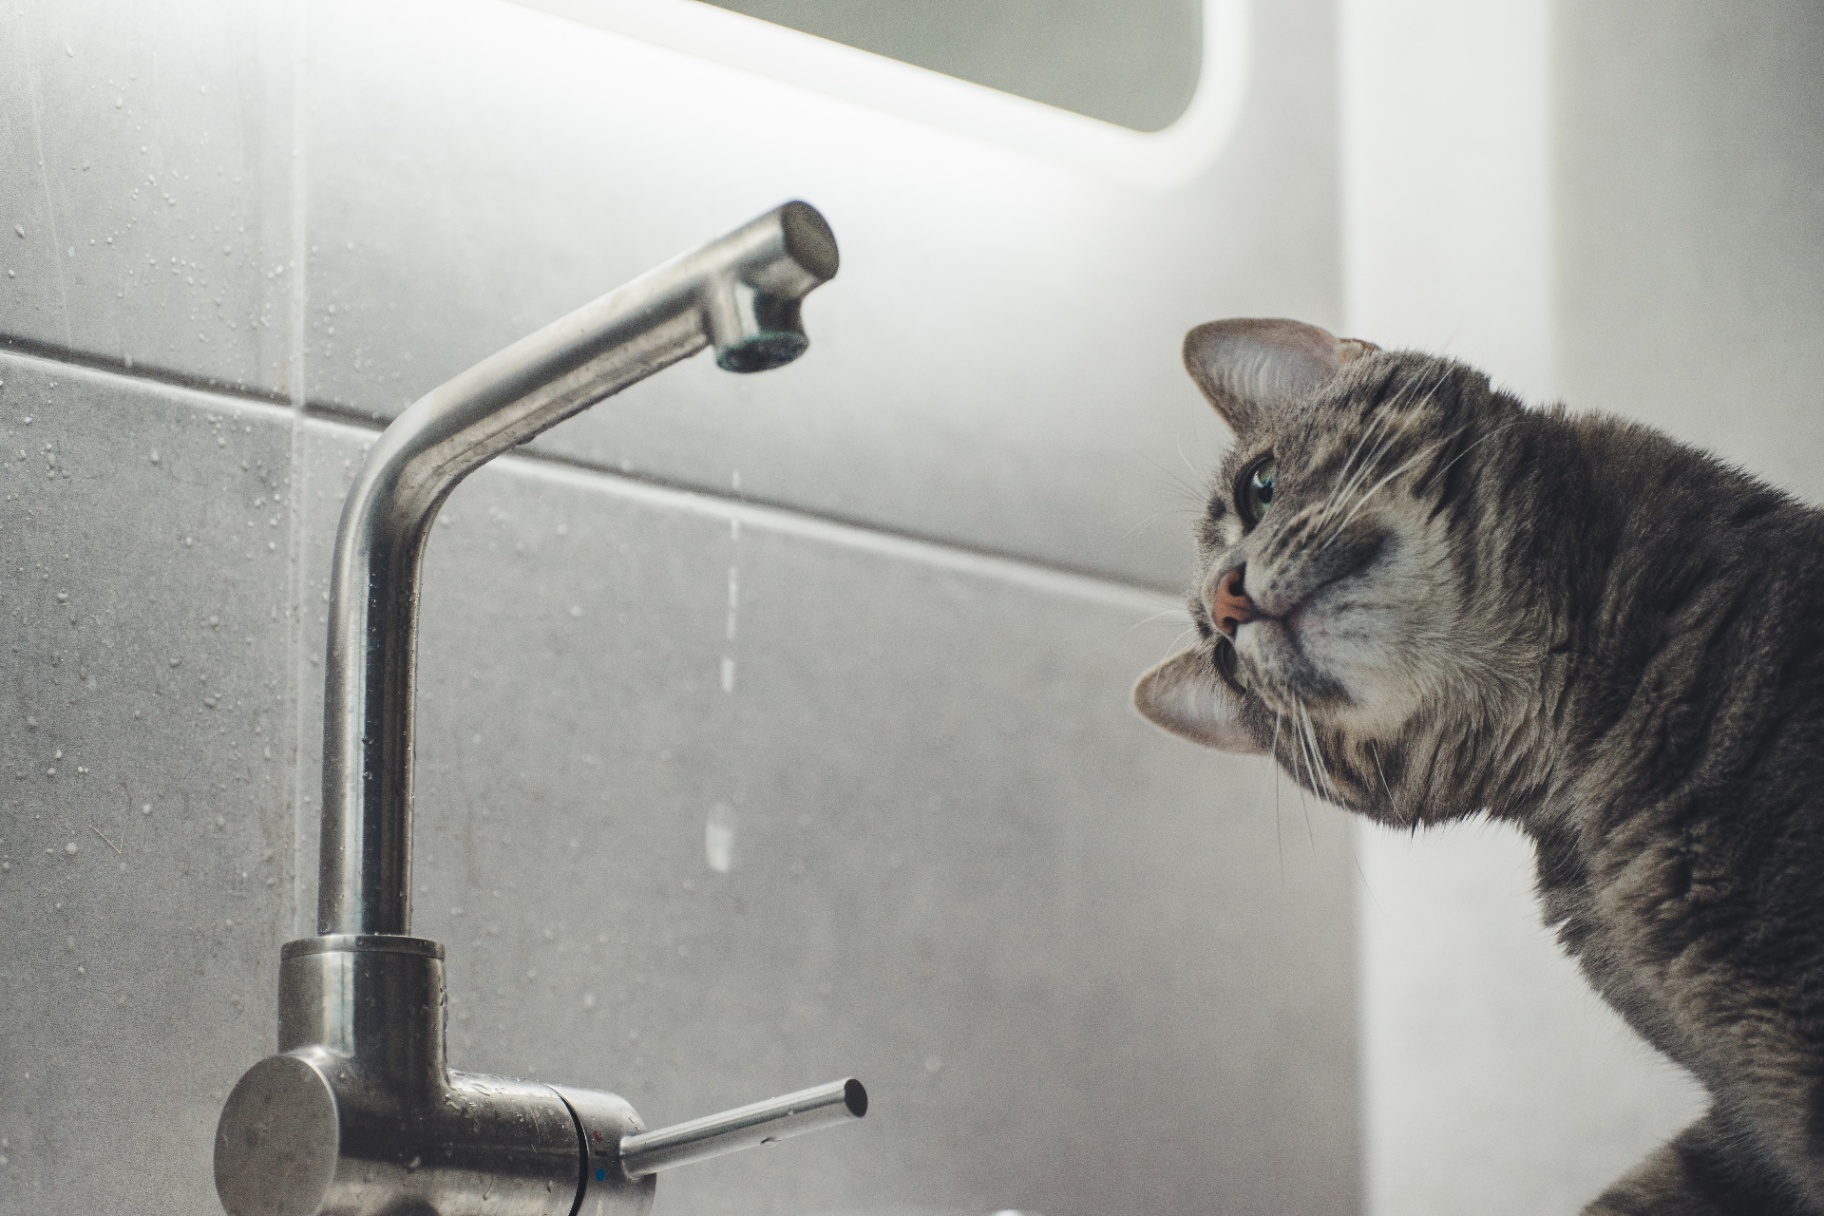
How to fix a leaking tap
Stop the drip once and for all!
DRIP- DRIP- DRIP the sound of water being wasted and your budget suffering, but the good news is you don't really have to put up with it.
A dripping tap may seem like a minor annoyance, but it can actually waste a significant amount of water over time, and the amount of water wasted depends on the severity of the drip and the flow rate of the tap. Based on a standard drip rate here are rough estimates of the extent of water waste from a single dripping tap. With this in mind, you can see that fixing a leaking tap promptly is not only crucial for water conservation but also helps to reduce water bills and prevent potential damage to fixtures and pipes.
- Slow Drip: If a tap is dripping at a slow rate of one drip per second, it can waste approximately 5,000 liters of water per year.
- Moderate Drip: A moderate drip, occurring at a rate of three drips per second, can waste around 15,000 liters of water annually.
- Fast Drip: A fast drip, with five drips per second, can result in wasting about 25,000 liters of water per year.

So let's look at how to fix that annoying leaking tap before it becomes “Out of Hand”.
Fixing a leaking tap is a relatively simple task that can be done in most instances by the property owner. With the right tools and a bit of patience, you should be able to fix your leaking tap without the need to call in a professional.
To start with you will need the following tools:
- Adjustable wrench
- Screwdriver (Phillips or flathead, depending on the tap)
- Replacement washers or O-rings (size may vary depending on the tap type)
- Plumber's tape (Teflon tape)
- Towel or rag
Step-by-step instructions:
By following these steps, you should be able to fix a leaking kitchen, bathroom, or laundry tap and restore its proper functionality. If however you encounter difficulties or the problem persisted you will need to consult a plumber
- Turn Off the Water Supply - this is an important first step, turn the isolation valve which is beneath the sink or basin and connected to the tap. Turn it clockwise to shut off the water supply.
- Prepare the Work Area - Place a towel or rag in the sink or basin to prevent any small parts from falling down the drain and to protect the surface from scratches.
- Remove the Tap Handle - Use a screwdriver to remove the handle's screw located on the top or underneath the decorative cap and put the screw in a safe place. Gently lift the handle off the tap.
- Access the Valve Assembly - Once the handle is removed, you'll see the valve assembly. This may vary depending on the tap type, such as a cartridge, ceramic disc, or compression valve.
- Inspect and Replace the Washer/O-ring - Examine the washer or O-ring for signs of wear, cracks, or damage, if you have a compression valve the washer is typically located at the bottom of the valve. For other valve types, the O-ring or ceramic discs may need to be replaced. Ensure you replace any worn washers / O-rings with the same size as the one you are replacing.
- Apply Plumber's Tape - If your tap has threaded connections, wrap a few layers of plumber's tape clockwise around the threads to ensure a tight seal.
- Reassemble the Tap - Place the repaired or new washer/O-ring back into the valve assembly. Reattach the tap handle, aligning it correctly with the valve. Secure the handle with the screw and tighten it.
- Turn On the Water Supply - Slowly turn the isolation valve counterclockwise to restore the water supply. Check for any leaks. If you notice any persistent dripping, you may need to repeat the steps or seek professional assistance. Operate the tap to confirm that it no longer drips.